
Hello,
I don’t have much hair left since I passed the age of 25. It is no point going to the hairdresser, so I use a hair cutter machine. When I moved to Sweden in 2007 I bought a very simple machine in a local general store. The machine is called Coline. This brand is rather low-end, Clas Ohlson has many type of appliances within this brand.
The machine is battery driven and has a partly plastic blade.


Coline
The battery degraded during the years, despite that I tried to take care of it. Being a Ni-MH unit I tried to deplete it before I started charging. End of 2014 it really became unstable in its operation (motor revolutions variated very much), so I decided to go for a new unit. I speak some rubbis, my wife convinced me that I should buy a new unit. Then she bought me a new unit actually 🙂
I made some research and used my “extensive knowledge” about hair cutters. None of the battery driven hair cutters convinced me, so I started to look at the ones that are driven on the mains. Much better selection. You can find some pretty serious machines with cord for much less money than the ones on battery drive.
I am partly German, so I liked very much the brand MOSER. Their products mean business, just look at them. These are machines that you usually see at the barber.
I decided to go for the Moser 1400. I really like that they even show the core of the electric motor. This is a nice touch…

Motor core
I tried the new machine and it is a bliss to use. You can select the length between 0,1 to 3 mm. I cut my hair to 3 mm, so no need to play around with any interface. Just select the length, lock the lever and off you go.
The machine is very silent and has a good feel and weight. The cord is not disturbing for me, not being dependent on degrading battery power is a clear advantage. The motor feals strong, no speed change when cutting hair. The unit feels very solid and stable.
It is easy to remove the blade and clean the unit. Video instructions.

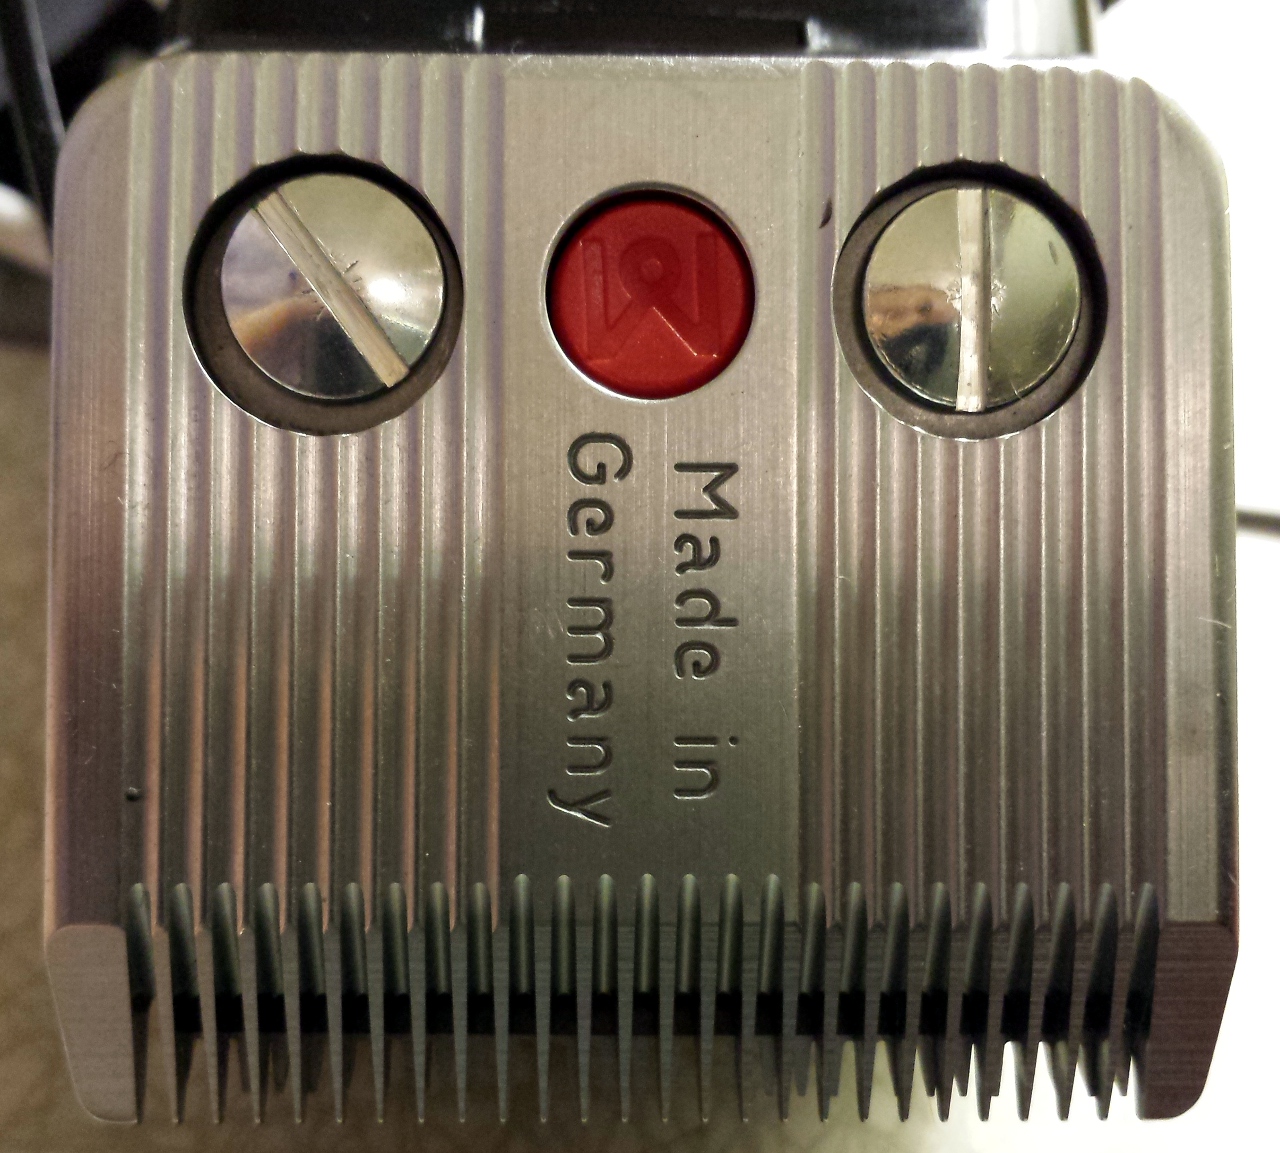
Made in Hungary, funny.
The two units side-to-side look similar in size. But the feel of the Moser is much more serious.

Coline vs Moser
The weight is also different. For me more weight means more metal and more quality.

Coline weight: 217g

Moser weight: 436g
As I understand on some markets this unit is sold under the brand WAHL, as well. Probably US.

After using this machine I have the feeling that with some maintenance and cleaning it would serve me for 20 years. The construction is solid and shines quality. The weight and the feel provides confidence, that this is a professional item.
The real bonus was the price. The Moser costs exactly the same money I payed for the “cheap” plastic Coline cutter. Quality does not have to be expensive, it looks like.
With best regards,
Sir Crash a Lot


